ComfyUI Connection and Image Transfer
This tutorial covers how to connect ComfyUI with Photoshop and transfer images between the two applications.
Establishing Connection
Step 1: Start ComfyUI
- Ensure ComfyUI has installed the SD-PPP extension
- Start ComfyUI server
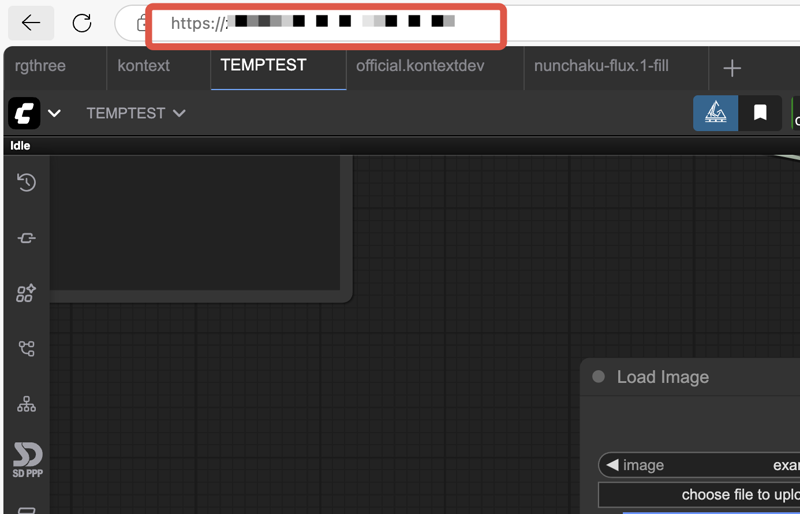
- Record access address usually
http://127.0.0.1:8188 - Verify service is running by accessing the address in a browser
Step 2: Connect Photoshop
- Open Photoshop and launch the SD-PPP panel
- Enter ComfyUI address in connection settings
- Click connect button to establish connection
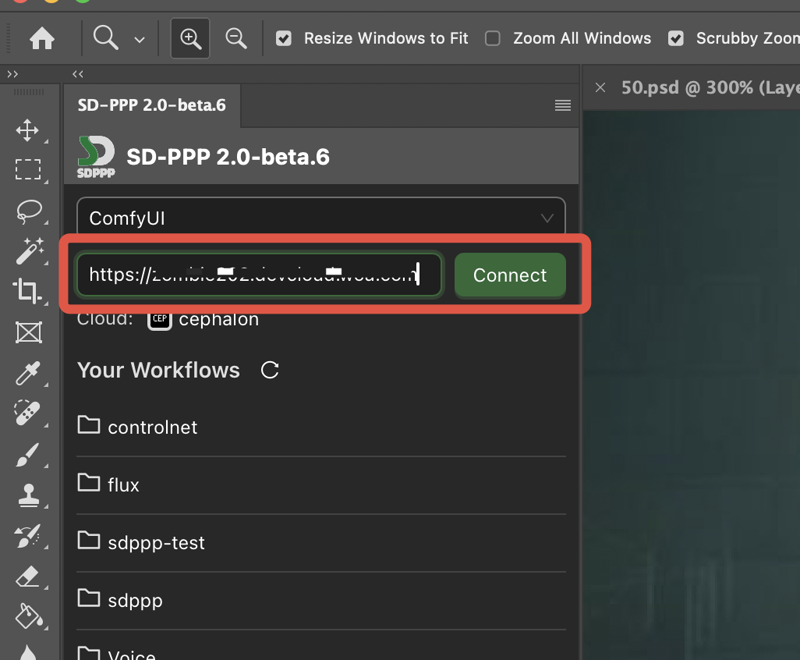
Image Transfer Methods
From Photoshop to ComfyUI
Using Load Image Node
SD-PPP 2.0 enables image input from Photoshop through the Load Image node:
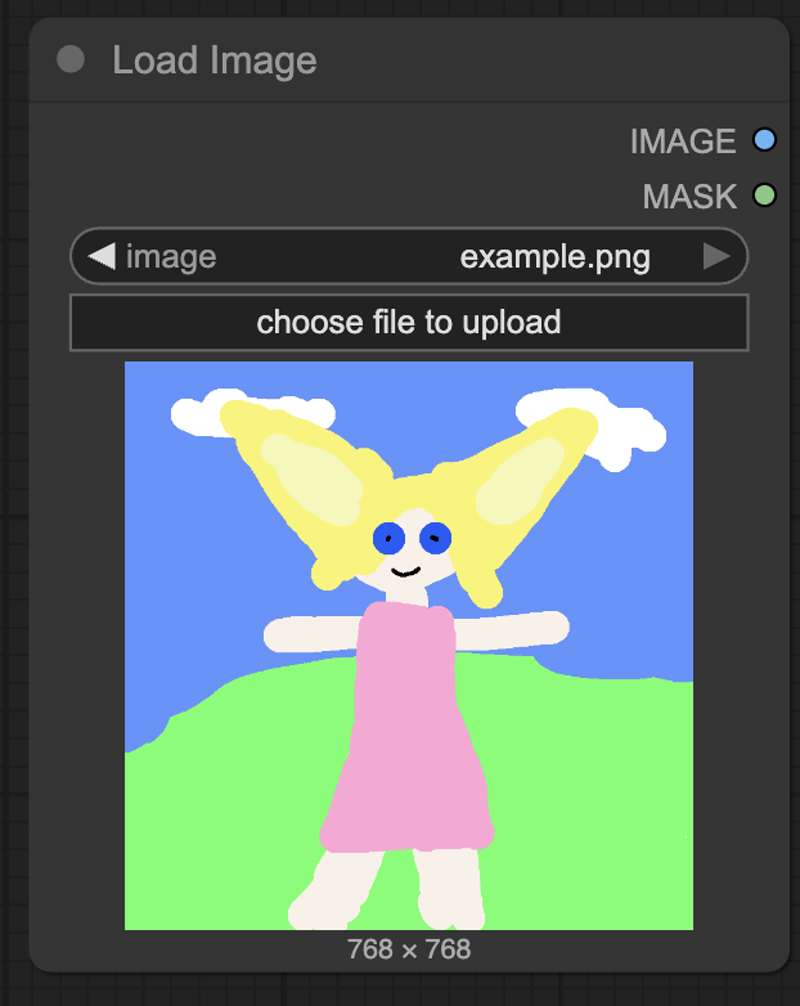
- Add Load Image node to your workflow
- In the plugin panel this node will appear as a special control
- Select input source:
- Get image from Photoshop
- Load image from disk

Keyboard Shortcut Support: When selecting images, you can use keyboard shortcuts to quickly complete operations.
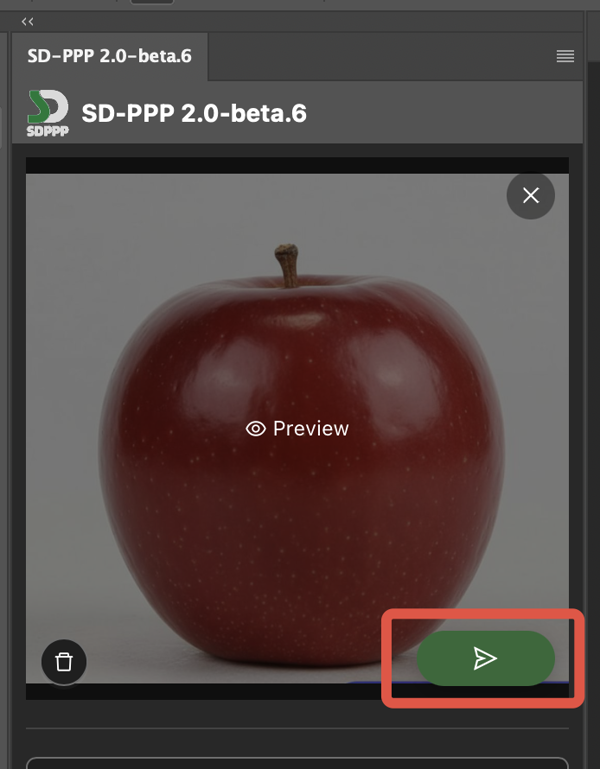
From ComfyUI to Photoshop
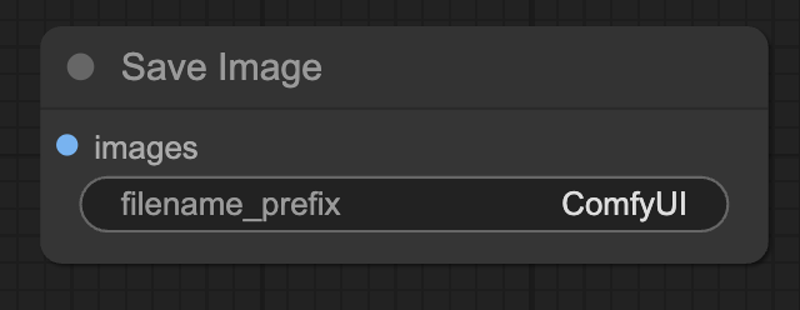
- Workflow contains Save Image node
- Initiated from Photoshop workflow execution
- Auto preview output results displayed in plugin panel
- Send to Photoshop:
- Hover mouse over preview image
- Click "Send to PS" button in bottom right corner
- Select target location and layer options
🔗 Connection Successful!
Now you can seamlessly transfer images between Photoshop and ComfyUI. Start your creative journey!